
 I've mentioned before that I love to play with Photoshop. I've never taken a class, so I just experiment to get what I'm looking for. One of my favorite techniques to do with photos is to blur out the background. Now before all you real photoshop people start calling me, I realize that there is probably an action to do this, but I do it myself. I'd like to think it is because I'm a perfectionist, but in reality, I just don't understand actions all that well.
Anyway, the first step is to make a duplicate layer. There are several ways, but easiest for me is to right click on the layer in the layer window and choose "duplicate layer." Next, use the select tool and make a circle, rectangle, oval... whatever best captures the part of the image that you want in focus. Then, delete it! Next, deselect... you can do this on the toolbar, or ctrl d works as well. If you turned off your background layer, you're left with something like this: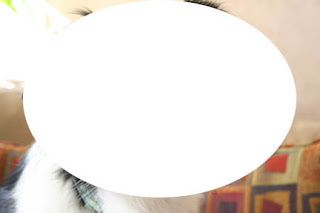
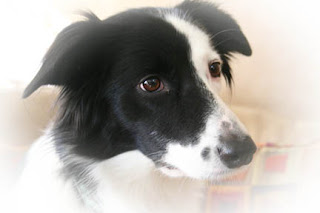
Use the Image -> adjustment -> brightness/contrast tool (or any other method of your choosing) to force this layer to be completely white. Next, go to Filter -> blur -> Gaussian blur and get it all smudgy. You will want to turn your background layer back on for this step if you turned it off earlier. The amount you blur will depend on the image size... just adjust until it looks good. Once you apply, you might still want to adjust the opacity of this layer to get it just right. (opacity is on the layer menu, top right).
If all went okay, you have something like this:
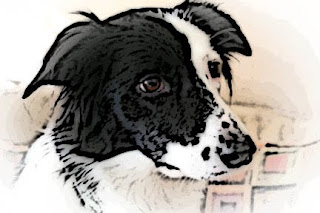
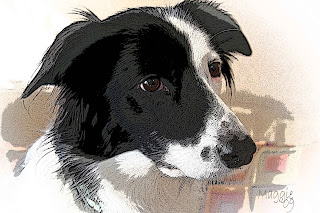
 Now comes the real fun! Go to Layer -> flatten image. This merges your two layers together. Now go to Filter -> Artistic. Pick any of those options and it will open a new window and a WHOLE NEW WORLD. I won't try to describe them... just play.
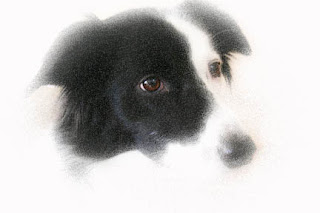
Diffuse glow:
Send me some samples of your creativity, I'd love to see them!
I'm sure this bored you non-photoshop folks to tears. Sorry... I'll come up with something better for my next post.
I'm sure this bored you non-photoshop folks to tears. Sorry... I'll come up with something better for my next post.

Those are cool. I was inspired to get off the couch and start messing around. I did think it was a little faster after I selected my oval to feather edge and select-inverse and then apply my blur. Also the "median" tool makes a nice blurred background.
ReplyDelete